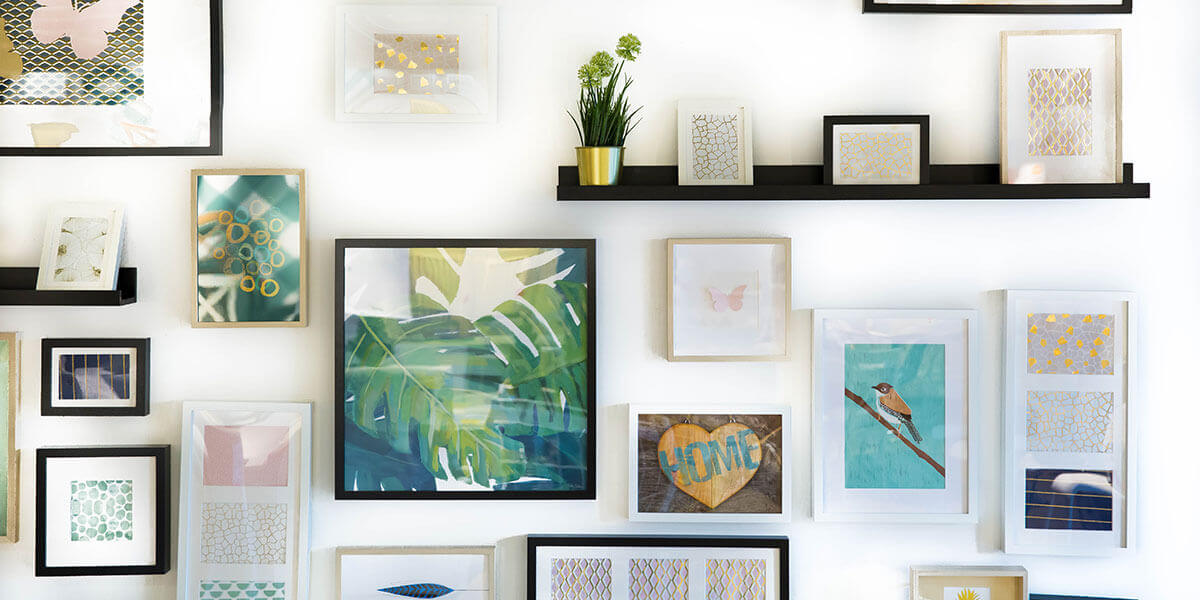
The “How-To”: Creating a Picture Wall Collage
We have been hanging pictures for decades, but it seems an old trend is dissipating and a new one is emerging! The trend is this: there is no end to ways you can hang wall collages, but there is definitely a formula to this task.
The key to having a successful wall collage is to make sure you take the time to layout your collage before hanging the pictures. Lay all your frames on the floor to configure which frame goes where. The best way to achieve an organized look is to have the same distance between each frame all around. You can also develop a formula to where just the widths between photos are the same, or just the heights between photos are the same. The key is to create calm chaos. You want to arrange the photos in a manner that is different and achieves interest, but also has uniformity to the layout, or else it may look unfinished or too chaotic.
To hang the photos, always take a picture of how you laid it out, because you will forgot. Start with the frame in the middle. Hang it on the desired location of the wall. Next, choose a second frame that is adjacent to the middle frame. Start working your way out and around until they are all hung! A level, pencil and wall laser are your best friends. The wall laser especially is incredibly helpful to hang pictures in a straight line, horizontally or vertically.
Lastly, there are endless things to items you can put in the frames. You don’t have to put anything in the frame, achieving the shabby sleek, minimalist look. You can put scrapbook paper, stretched fabric, sentimental items such as movie tickets, love letters, or postcards or even paint the wall behind the frame.